Easy Crockpot Chili

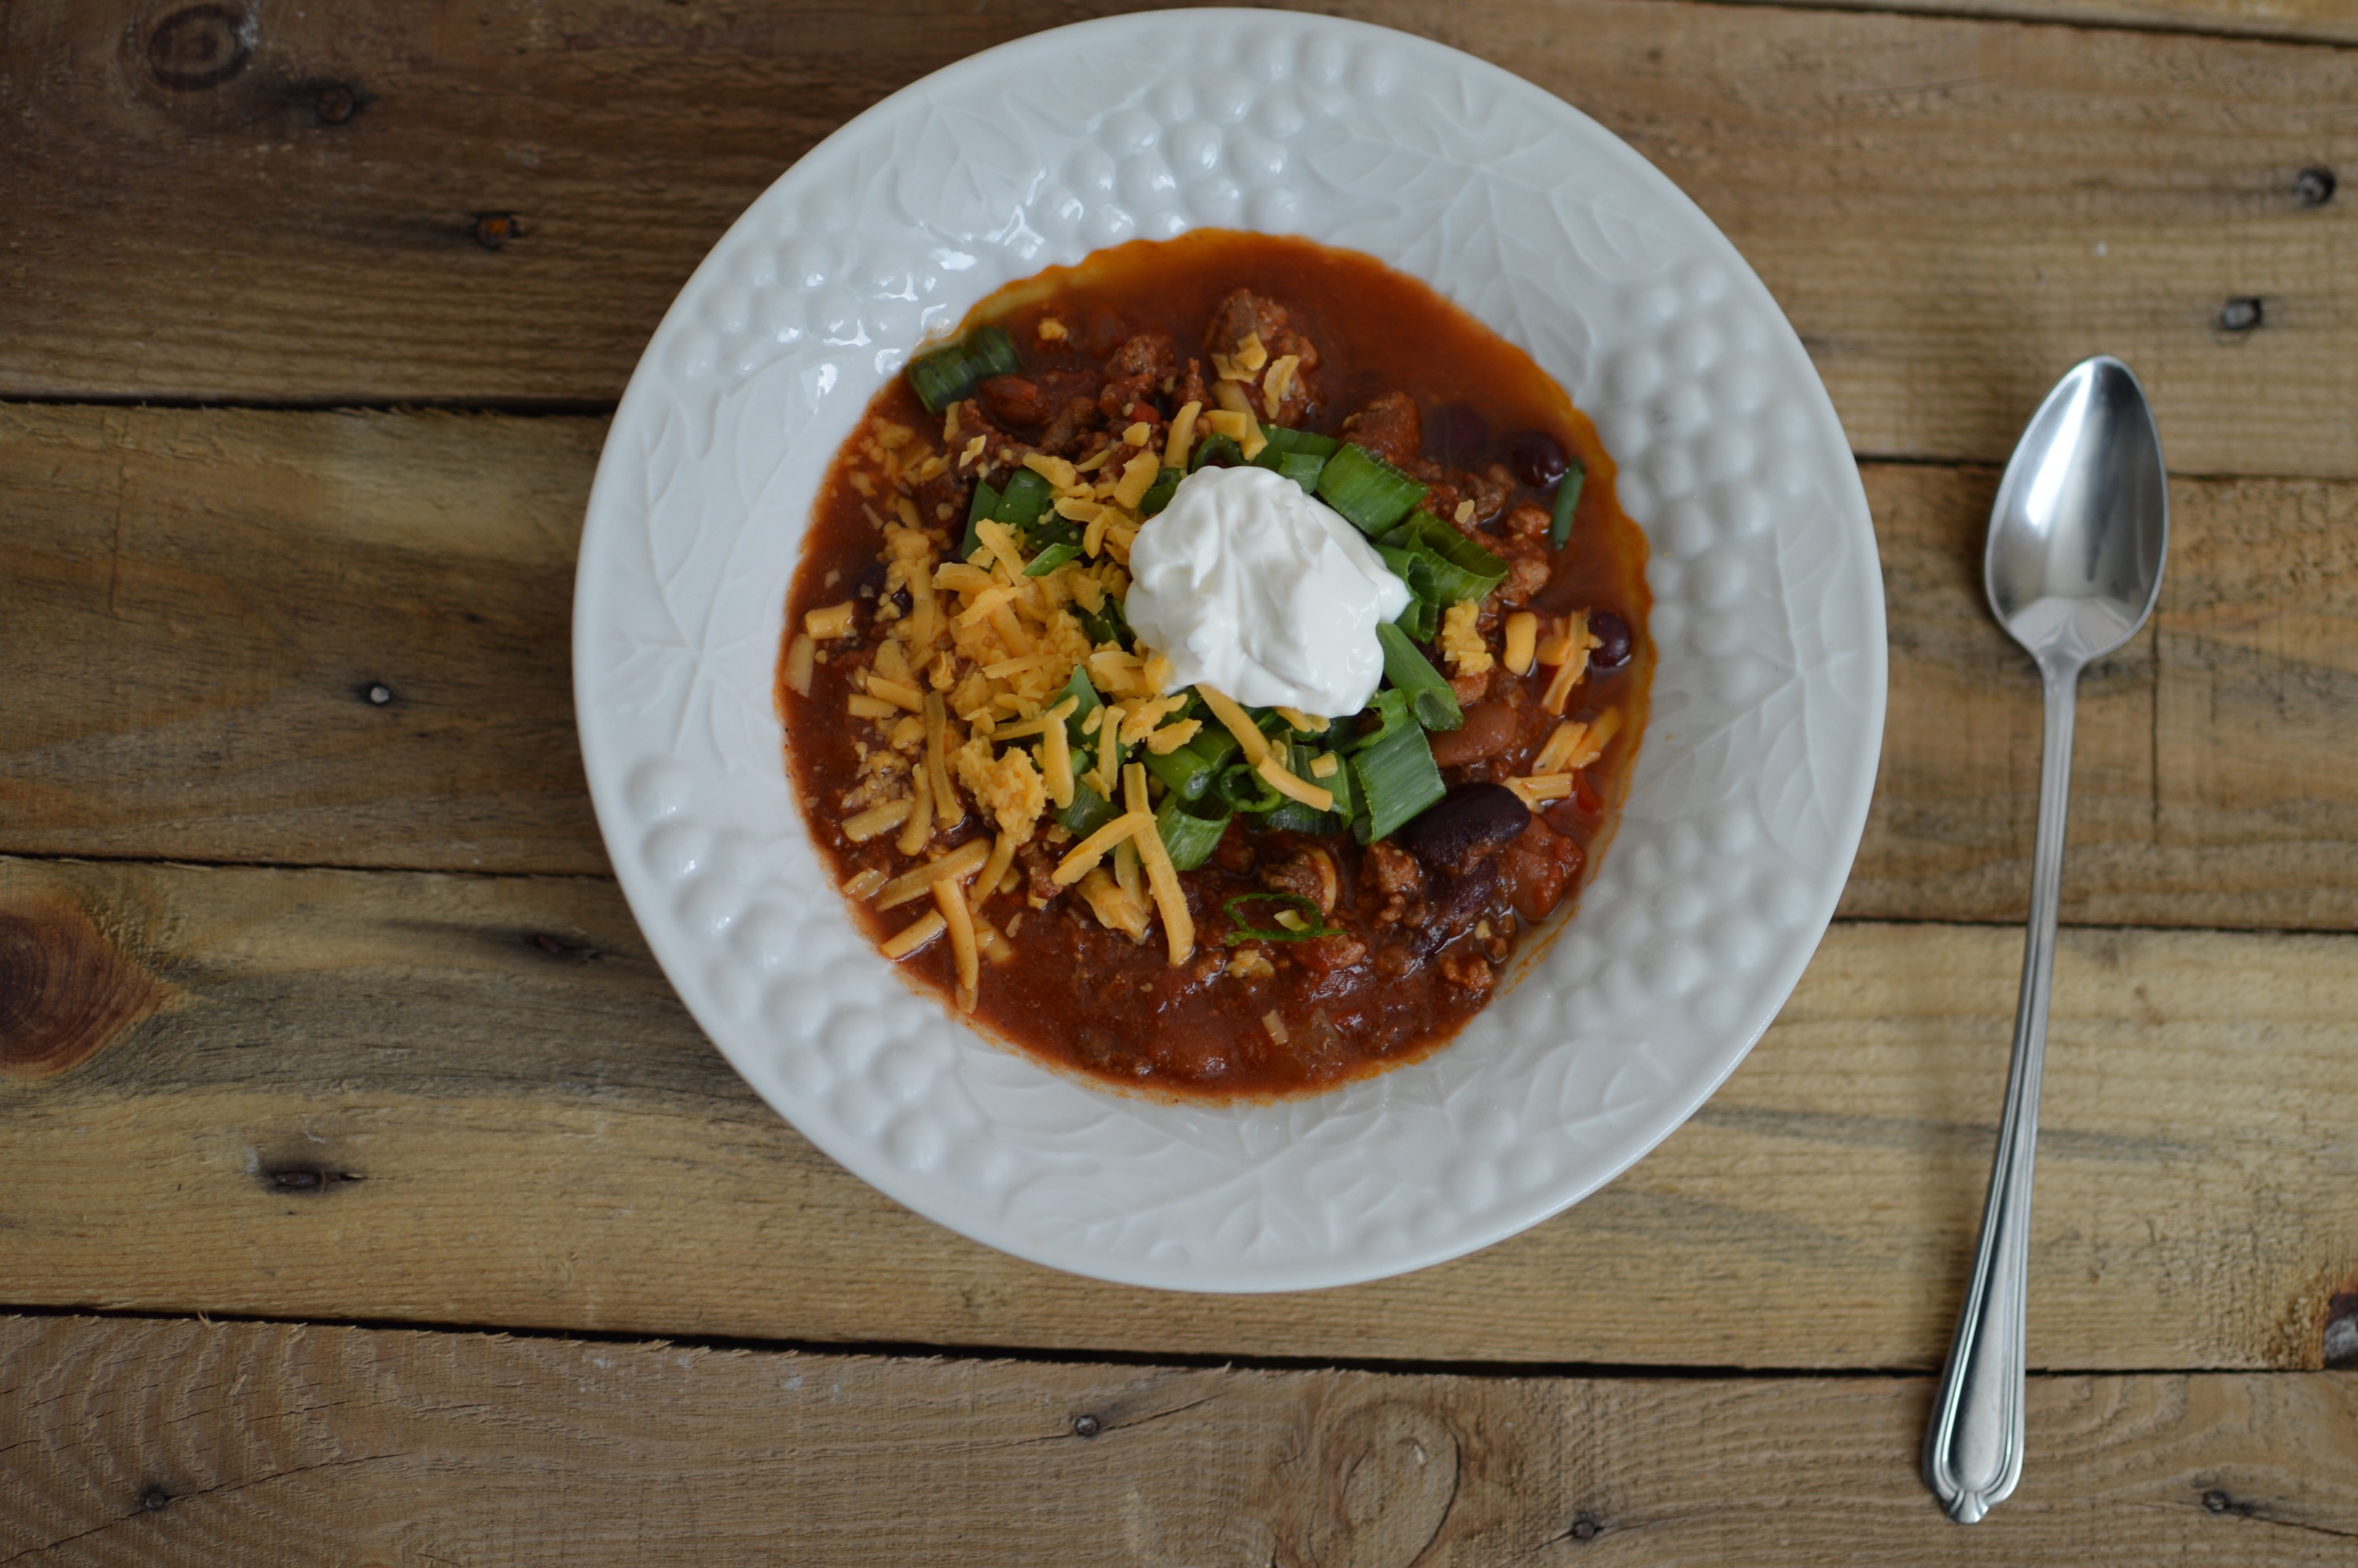
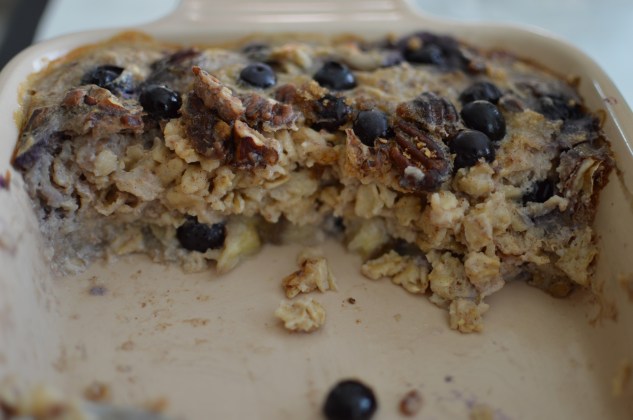
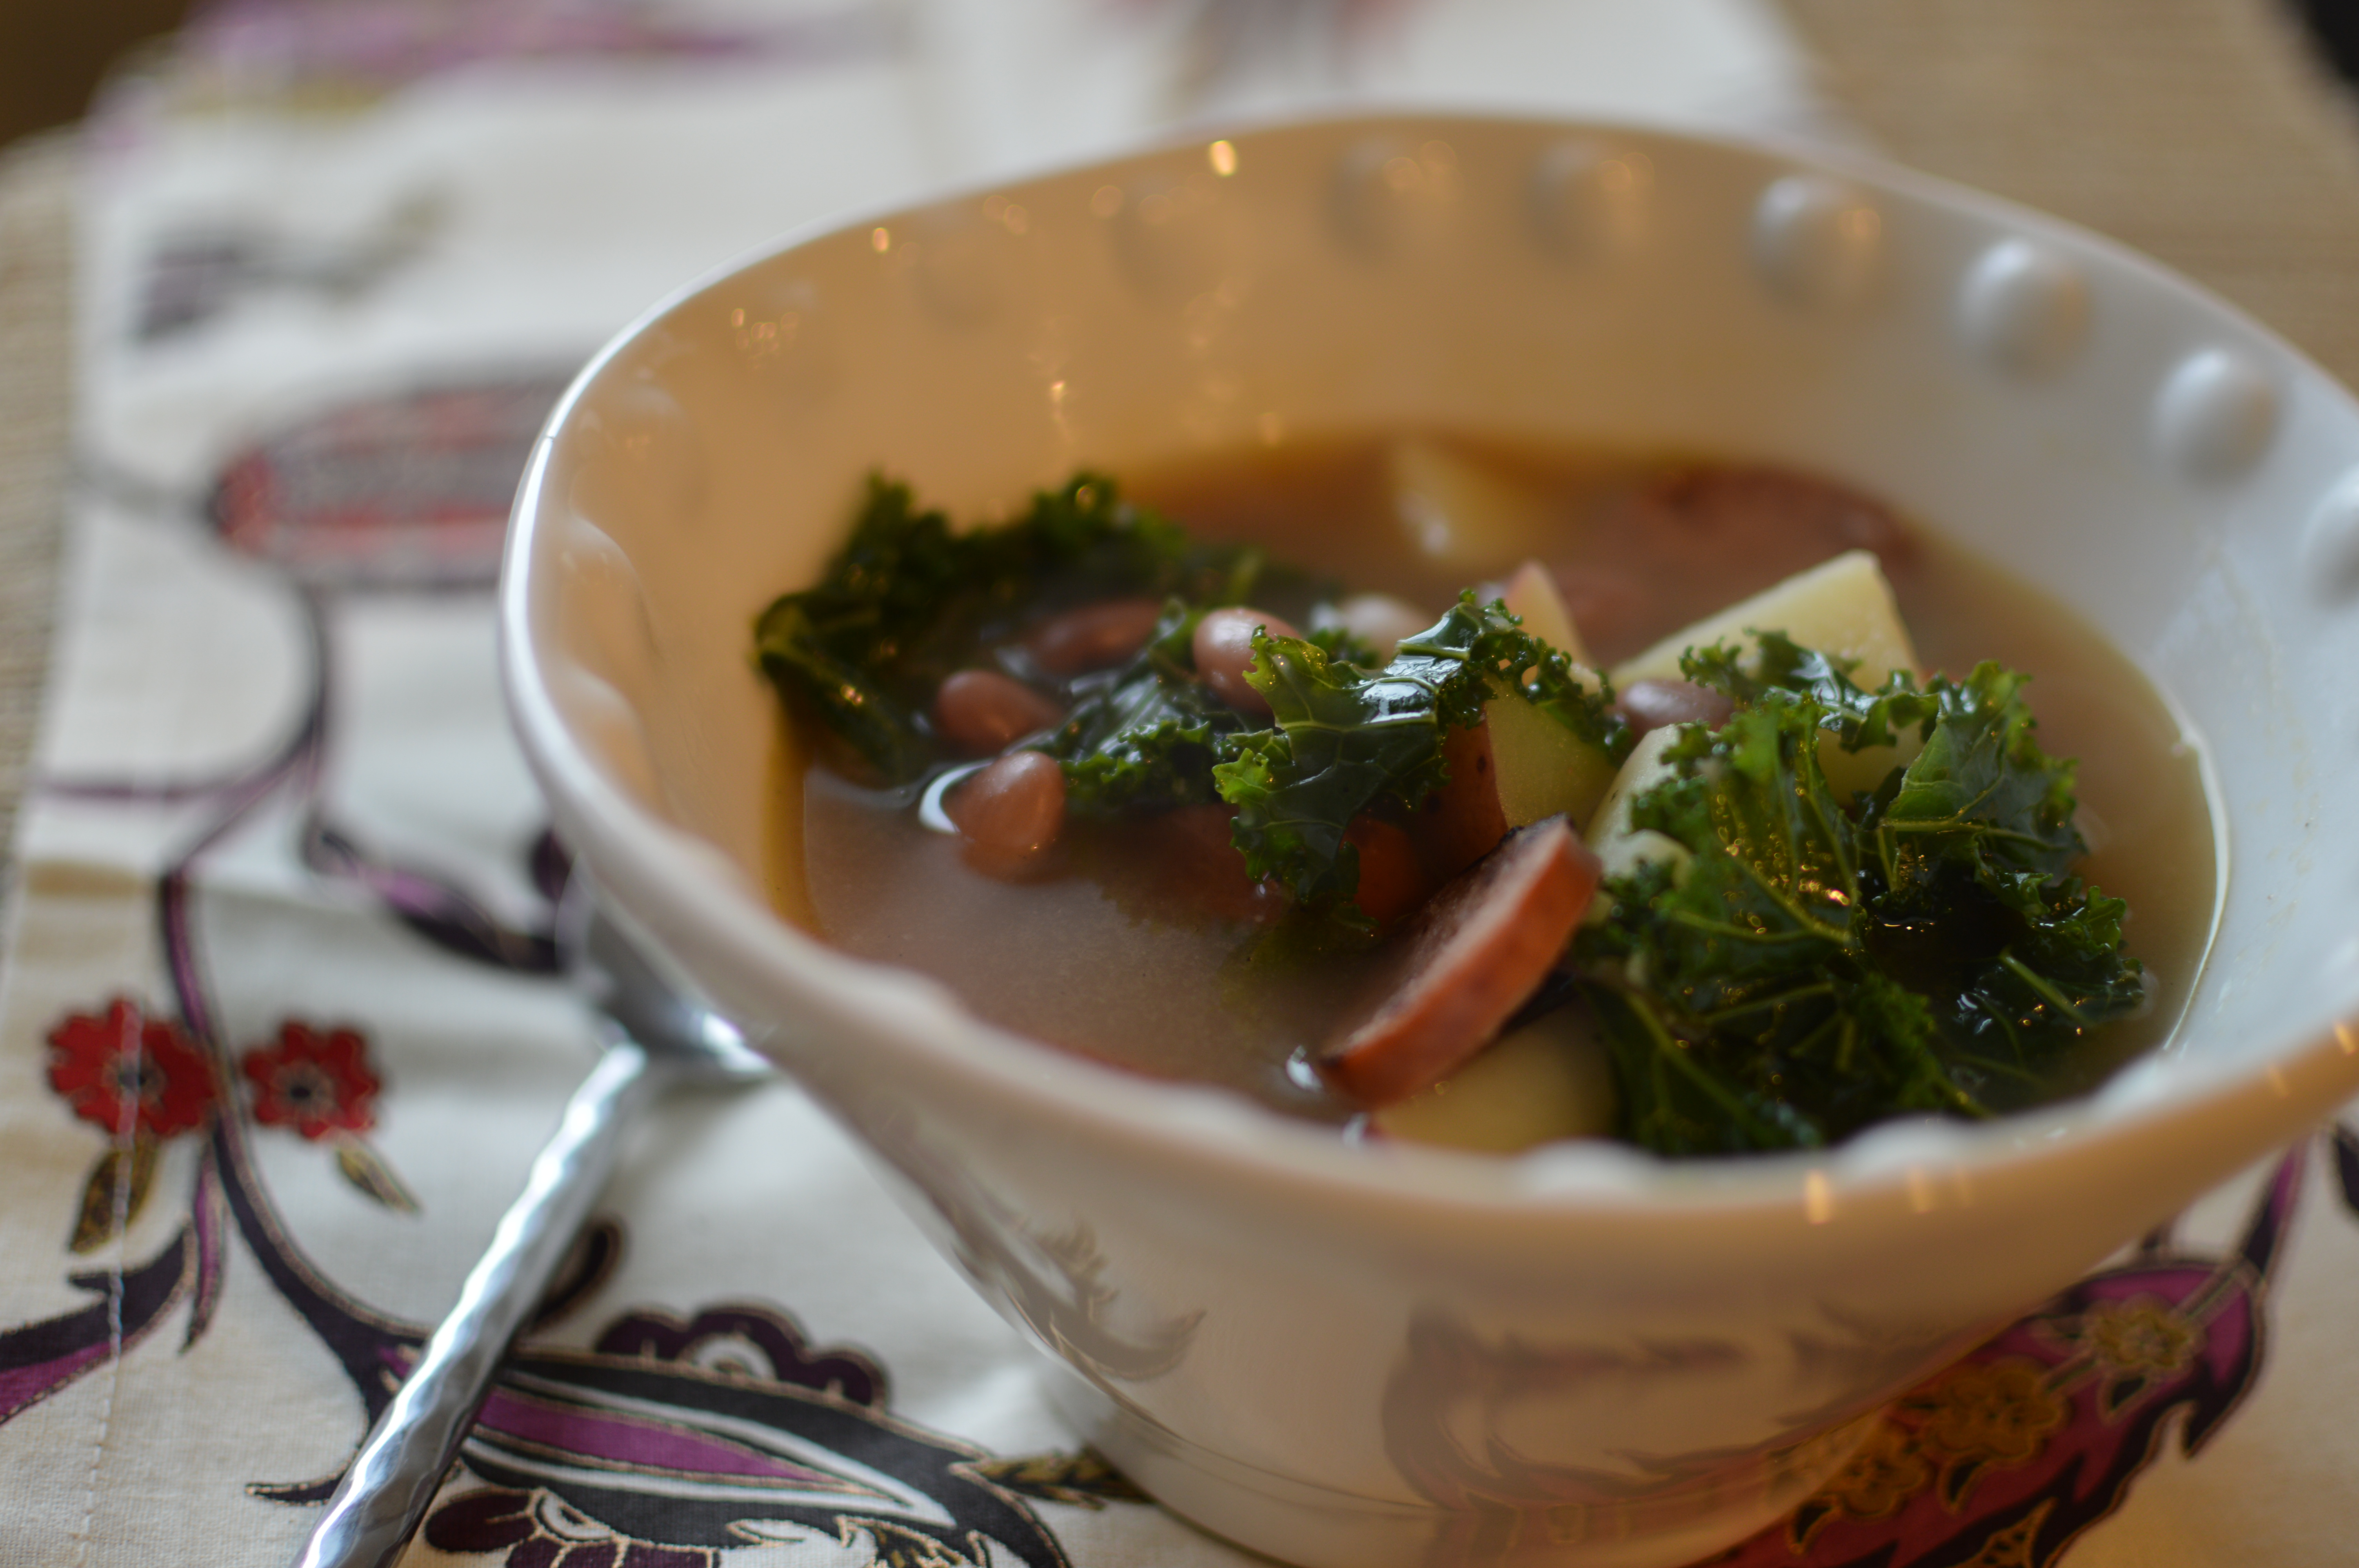
Hello! I hope your week is going as awesome as mine is! I slept for 12 hours Saturday night and Sunday night, so all week I’ve been bursting with energy. I’m running more now that the temperature is perfect in the mornings… Hopefully it’ll stay this way for awhile! With running before work I’ve had less time for food prep. This crockpot chili has been the perfect solution! I make it once and it lasts all week. It’s so hearty and the acidity is well balanced with a bit of sour cream and cheddar cheese. This and other lower carb lunches I’ve been packing for work have my stomach feeling flatter, which is great since it’s almost pool season. I even folded laundry in a bikini yesterday! I’ll bet that if you eat this chili your tummy will be just as happy :)

  
Easy Crockpot Chili Recipe found here. The only changes I made to the chow.com recipe were to use a combination of red kidney beans and pinto beans and lean ground turkey instead of ground beef.

  
Oh, I also usedextra sharp cheddar on this one. You get the most flavor with the fewest calories that way… Which reminds me, I’ve been experimenting with Weight Watchers for the past few months to learn more about the program and see if it’s a good diet plan for my clients. I’ve noticed that fat “costs” you a lot of Points Plus, so using low fat or fat free products seems to be a good strategy for keeping to your Points Plus limit for the day. It’s a trade off, though. When you choose fat free cheese or sour cream, you get fewer calories but a more processed product. So what’s better for weight loss? What do you think?? Would you use full fat sour cream and cheddar on this chili or go for fat free cheddar and fat free Greek yogurt/ sour cream? BTW, if you’re interested in a full review of the Weight Watchers personal coaching program, please let me know! I’m thinking about doing a post about it.

One more chili pic.. Yum!


Turkey and Quinoa Stuffed Peppers

This month’s Recipe Redux theme is “Spring Cleaning!” Clearly, my pantry is still in need of it:

Never mind. I was going to include a picture of the mess in there, but it’s too embarrassing! 

As I was going through my pantry to find an ingredient for this month’s challenge, I found an entire Costco sized package of canned tomato sauce. Well, if you’ve ever accidentally bought too much tomato sauce like I did, I have a great recipe you can put in your lunch or dinner rotation now!

  
Turkey and Quinoa Stuffed Peppers


Ingredients (makes 6):

6 bell peppers: red, orange, and/or yellow

15 oz can tomato sauce

1 cup dry quinoa

2 cups chicken broth or water

16 oz lean ground turkey

2 tablespoons olive oil

1 medium onion, diced

1 small can diced green chilis

3 garlic cloves, chopped

Taco seasoning, to taste

6-12 oz shredded cheese (I used 2% fat Mozzarella)

Preparation:

1. Remove the tops and seeds from each bell pepper. Heat a large pot with enough boiling water to just cover the bottom below a steamer basket. Place bell peppers in the steamer basket and steam, covered, for about 5-10 minutes or until desired tenderness is achieved. You can boil the peppers submerged in water to soften them instead. Remove the peppers, pat dry with a paper towel, and allow to cool on an aluminum lined baking sheet.

2. As the peppers cool, toast the dry quinoa in a saucepan, stirring frequently for 2 minutes. Add 2 cups boiling water or broth and reduce heat to a simmer. Cook covered for 15 minutes or until liquid is absorbed.

3. While the quinoa is cooking, sauté the onions And garlic in 2 tablespoons of oil in a large skillet over medium heat. Once softened and golden, set aside. Brown ground turkey in the pan until there is no pink visible and the meat is in small crumbles. 

4. Stir taco seasoning, tomato sauce, cooked onions, cooked quinoa, and diced green chilis into the turkey. 

5. Distribute the meat and quinoa mixture evenly among the bell peppers, top each one with 1-2 oz shredded cheese, and broil until golden and bubbly.

  
These reheat well in the microwave and pack easily for lunch at work! Enjoy with a side of salad. 

  
Check out other Recipe Redux creations below:

Favorite Workday Salad

I love finding a portable meal that’s flavorful, protein rich, and easy to prepare multiples of for the week! This salad has been my go-to for two weeks now and I’m still not tired of it.

Ingredients:

2 eggs or 3 egg whites, hard boiled & chopped

1/2 can of tuna

1 medium tomato, diced (or 1/2 cup grape tomatoes sliced lengthwise)

2 tablespoons finely diced red onion

1/2 cup garbanzo beans

1 tablespoon fresh chopped parsley

Large handful of spinach or mixed greens

1 tablespoon olive oil

Squeeze of lemon

Salt & pepper to taste

Preparation:

1. Place eggs in a pot of cold water. Bring to a boil. Cover, remove pot from heat, and set a timer for 12-15 minutes. Run the eggs under cold water to stop the cooking process and make them easier to peel.

2. Layer all ingredients except for greens in a bowl or travel container. Add lemon juice, olive oil, salt, and pepper.

3. Top with mixed greens or spinach.

4. When ready to serve, stir or shake to combine all ingredients.

And done! I like to make 2-4 of these at a time to keep in the fridge for lunch on weekdays. They hold up well as long as the spinach/greens are on top!

Enjoy!

Baked Oatmeal Recipe

I love brunch! How could I not? We have beautiful weather and great friends joining us for bible study this fine day! This recipe is simple, filling, and nutritious. I hope you’ll try it and tell me what you think!

Ingredients:

(Serves 4-6)

2 cups rolled oats (or 1.5 cups rolled oats + 1 scoop vanilla whey protein isolate)

2 ripe bananas, sliced into 1/2″ disks

1.5 cups fresh or frozen berries (I used fresh blueberries)

2 cups milk (I used unsweetened almond milk)

1 large egg

2 teaspoons vanilla extract

1 tsp ground cinnamon

1 tsp baking powder

Dash of sea salt

5 packets stevia (or 1/3 cup maple syrup)

1/2 cup chopped and toasted walnuts or pecans

3 tablespoons melted butter

Preparation:

1. Preheat oven to 375 degrees and grease the bottom of an 8×8 square baking dish with cooking spray.

2. Line the bottom of the dish with a single layer of banana slices and sprinkle half the berries on top.

3. In a mixing bowl, whisk together the milk, egg, half the butter, vanilla extract, and maple syrup (if using).

4. In a separate bowl, stir together the dry oats, half the chopped nuts, cinnamon, baking powder, salt, protein powder (if using), and stevia (if using).

5. Stir the wet and dry ingredients together and pour into the baking dish. Sprinkle remaining berries and nuts on top.

6. Bake for 40-45 minutes, or until the mixture is set and golden brown on top. Allow to cool for several minutes.

7. Top with remaining melted butter (optional) and a sprinkling of brown sugar (optional). Serve with Greek yogurt, sliced almonds, maple syrup, and/or fresh berries!

Dig in!

I topped mine with greek yogurt mixed with vanilla extract and stevia.

And there are still leftovers for tomorrow! Yesss!

High Protein Chocolate Coconut Granola

I love Greek yogurt, but after eating it for a snack five days a week for at least a year, I decided it needed some sprucing up. Nothing brings life to a cup of yogurt like granola! This version can be made crispy or chewy and you can make 12 servings in under an hour. Granola you buy at the store is typically high in sugar and fat, but this granola has a higher protein content thanks to the addition of whey protein isolate and lower in fat and sugar. The combination of chocolate chips, toasted coconut, and roasted almonds make it taste like a candy bar! Irresistible!

High Protein Granola Recipe

Ingredients:
(12 servings)

3 cups whole grain rolled oats (not instant)
1/4 cup shredded coconut, sweetened or unsweetened
1/4 cup sliced almonds1/3 cup maple syrup
1 tbs coconut oil
1/2 cup unsweetened apple juice
2/3 cup vanilla whey protein isolate
1/2 teaspoon salt
2 teaspoons vanilla extract
1/4 cup mini chocolate chips

Preparation:

1. Preheat the oven to 325 degrees. Line a large baking sheet with parchment paper and set aside.
2. Combine the oats, shredded coconut, and slivered almonds in a mixing bowl.3. Whisk together apple juice, maple syrup, coconut oil, whey protein, and salt in a small saucepan. Heat over medium, whisking occasionally, until thickened and beginning to bubble. Add the vanilla extract.
4. Pour the hot liquid over the oats and stir together with a spatula to coat evenly. Pour the sticky oat mixture onto the parchment lined baking sheet and use the spatula to spread it out evenly.
5. Bake for 30-40 minutes, stirring or flipping the oats once or twice with a spatula partway through.
6. The granola is done when it is dry (or mostly dry if you prefer a chewy granola). Allow to cool completely before adding chocolate chips. Store in an airtight container.
high protein granola recipe

For a different variation, try adding a dash of cinnamon, nutmeg, ginger, and ground cloves to the oats instead of coconut and dark chocolate. Enjoy a handful on its own, as a yogurt topper, or with your favorite cereal!

High Protein Granola recipe

Kielbasa and Bean Soup with Kale

It’s still winter, right? Maybe in the rest of the United States! Temperatures got to nearly 80 degrees here in Vegas today.  I’m glad I got to spend part of the day taking a walk with my mom and watching her feed hummingbirds and quail in her backyard. Today was hardly a soup day, but if it gets chilly again, this dish will be making a repeat appearance!

Bean and Sausage Soup

Ingredients:
(serves 6)

1 pound turkey kielbasa, sliced
Vegetable oil, as needed
8 cloves garlic, minced
1 pound red kidney beans, soaked at least 4 hours and up to overnight
2 quarts chicken broth
1 pound red bliss potatoes, cut into 1/2-inch cubes
1 bundle fresh kale, torn into bite sized pieces
1/4 cup red wine vinegar
1/2 teaspoon freshly ground black pepper

Preparation:
1. Place the kielbasa into a 7-quart Dutch oven and set over medium-low heat. Cook until the kielbasa has browned well and rendered its fat, approximately 15 minutes. If you do not have at least 2 teaspoons of fat, add enough vegetable oil to make 2 teaspoons. Remove the kielbasa from the pan and set aside.

2. Add the garlic and cook for 1 to 2 minutes, stirring constantly to prevent the garlic from burning. Add the beans and the chicken broth and cook, covered, for 45 minutes. After 45 minutes, add the potatoes, cover and cook for 15 minutes, stirring occasionally.

3. Wash, rinse and trim the kale and tear into bite size pieces. Add the kale to the pot, cover and cook for an additional 10 minutes or just until it is tender, but not mushy.

4. Add the red wine vinegar and black pepper and stir to combine. Evenly distribute the kielbasa between 6 soup bowls. Ladle the soup into bowls and serve.

This soup is known as “Christmas Soup” according to Alton Brown. The original recipe is located here. The man is a culinary genius… I have yet to try a recipe of his that isn’t incredibly delicious! I bet this soup would be delicious with cornbread.
Kielbasa Soup
This soup is so well balanced! The red wine vinegar works wonders with the kale, garlic, and kielbasa. I’m pretty sure any recipe with kielbasa is a winner, actually. Enjoy!

Quick Southwest Black Bean and Corn Salad

Hello again! With family in town for the past week and a few weekend adventures in the weeks before that, this post is a little overdue. While this salad may sound like a summertime dish, it’s delightful any time of year as an easy side. I like to make enough for a week and toss some shredded chicken in for quick workday lunches.

Libby’s sent me samples of conveniently packaged bags of sweet peas, green beans, and whole kernel corn to play with! I was going to enter a recipe contest with my free samples, but my internet connection wasn’t allowing me to post that week. Bummer. Thanks anyway, Libby’s! I’m sure they got lots of great contest entries.

Libbys Sweet Corn

Ingredients:
(serves 6-8 as a side dish)
-1 bag of Libby’s sweet whole kernel corn OR 1 can of sweet whole kernel corn (drained)
-1 can of black beans, drained and rinsed thoroughly in a strainer
-8 oz grape tomatoes, whole or sliced lengthwise
-1/4 cup finely diced red onion
-optional: 1/2 red or green bell pepper, finely diced
Cilantro and avocado for garnish

For the dressing:
-1 tablespoon fresh lime juice (about half a lime, depending on size and juiciness)
-1 teaspoon red wine vinegar
-2 tablespoons olive oil
-1/2 teaspoon chili powder
-1/2 teaspoon cumin
-1/4 teaspoon garlic powder
-1/8 teaspoon cayenne (red) pepper
-Salt and pepper to taste

Directions:
1. Whisk together all salad dressing ingredients, or shake together in a small tupperware container.
2. Combine all vegetables in a mixing bowl. Pour the dressing over the vegetables and gently fold together using a rubber spatula. Serve chilled or room temperature. Store covered and refrigerated for up to 7 days.
black bean and corn salad

I love colorful salads, don’t you? This one is flavorful and easy to assemble. It tastes even better the next day! If you want to make it EVEN easier, try using salsa as the dressing instead of making your own vinaigrette.

black bean salad up close

Curried Lentil Soup


Hello! This is my first month participating the the Recipe Redux! This month’s theme is “spooky spices.” This recipe for curried lentil soup fits the theme because it uses several spices that I pulled out from waaaaay back in my pantry because I’m rarely brave enough to use them. Well, this soup turned out so well, I’ll have to incorporate Turmeric and Calcutta Heat into my cooking more often!

Calcutta Heat

Sometimes I cook a dish just because I have leftovers. In this case I had a little bit of chicken stock base left after making garlic butter shrimp for my husband and client. I don’t like shrimp, so I made myself a different dish on a whim. I had almost everything on hand to make this lentil soup by The Traveler’s Lunchbox. The only thing missing was cardamom, which is a fairly expensive spice that Colby and I buy EVERY year to make his German mulled wine for Christmas. It’s called feuerzangenbowle and I’ll be sure to post his signature recipe for it as the holidays approach. It involves lighting sugar and rum on fire, so it’s lots of fun to make! Anyway, we’ve bought cardamom at least twice before, yet it’s nowhere to be found in the pantry… so I improvised with spicy curry powder! The kind I use is called Calcutta Heat, which is a spicy curry blend. I suspected that the lentil soup would be strangely sweet (with nutmeg, cinnamon, and cloves), I don’t like my entrees overly sweet. Without the cardamom, the soup was missing something, so swapping in Calcutta Heat actually enhanced the soup. Try it out! It’s incredibly flavorful and warming for a chilly day.
Curried Lentil Soup

Ingredients (serves 2):

1/2 cup dry lentils
2 cups chicken stock
1 sprig fresh thyme
1/2 teaspoon turmeric
1 tablespoon butter
1/4 large onion, diced
2 cloves garlic, minced
1/2 teaspoon Calcutta Heat or curry powder & cayenne pepper
Pinch of each: nutmeg, cinnamon, ground cloves
1/4 – 1/2 cup coconut milk (depending on how creamy you like your soup- I opted for 1/4 cup)
Large handful of fresh spinach, sliced
Salt and pepper to taste

Directions:

1. Combine lentils, chicken stock, thyme, and turmeric in a small/ medium saucepan. Bring to a boil and reduce to a simmer for about 20 minutes, or until the lentils are tender. Discard the spring of thyme.

2. While the lentils are cooking, heat butter in a skillet over medium heat. When melted, add onions and stir around until tender and golden (about 2-3 minutes). Add fresh garlic, curry powder of choice, nutmeg, cinnamon, and ground cloves. Stir around until fragrant.

3. Scrape the onions and seasonings into the saucepan (if you want to get every last bit, like me, add the lentils and stock to the skillet instead). Add the coconut milk and fresh spinach.

4. Reduce the heat and simmer for about 10 more minutes. Adjust the flavor to your liking with salt and pepper. Serve hot.

Check out other Recipe ReDux recipes below!


Salt and Vinegar Kale Chips

Ahhh!! I’m so excited about my new camera! I can’t wait to learn how to use it well! I got the Nikon D3200 because it seemed like a solid beginner DSLR at a great price. The photos in this post were shot indoors just before sunset with no diffuser or reflector, and no post-processing or filters. Not bad for my first food shoot with this camera!
IMG_0156-1.JPG
I’ve had several failed attempts at kale chips, but I think I’ve finally figured out the right way to make them! Here are some tips:

1. Use curly kale

2. Cut the leaves from the tough stalk of the kale.

3. Do not over-oil the kale (use an oil mister)

4. Do not over-crowd the baking sheet

5. Watch the kale closely as it bakes so it becomes crisp but not burned

Before:

IMG_0157.JPG
Ingredients:

1 bunch of kale
Olive oil in a mister
White vinegar in a mister (or vinegar powder, such as this one)
Finely ground sea salt

Directions:

1. Preheat oven to 350 degrees. Tear curly kale into 2″ sized pieces and scatter over a baking sheet lined with lightly greased aluminum foil. Work in batches instead of crowding the baking sheet.

2. Lightly mist the kale with olive oil and vinegar. Sprinkle with a dusting of salt.

3. Bake for 8 minutes, flip the kale leaves, and bake for several minutes more. Monitor closely- you want the kale to be crisp, but not burnt.

Enjoy the kale chips warm or allow to cool and store for a couple of days in a sealed container. Experiment with other kale chip flavors as well. Try salt + curry powder, garlic salt, grated parmesan, or simply salt + pepper as tasty alternatives! Oh, and definitely brush your teeth after eating these or you might scare people off with your green breath :)

After:

IMG_0156-1.JPG