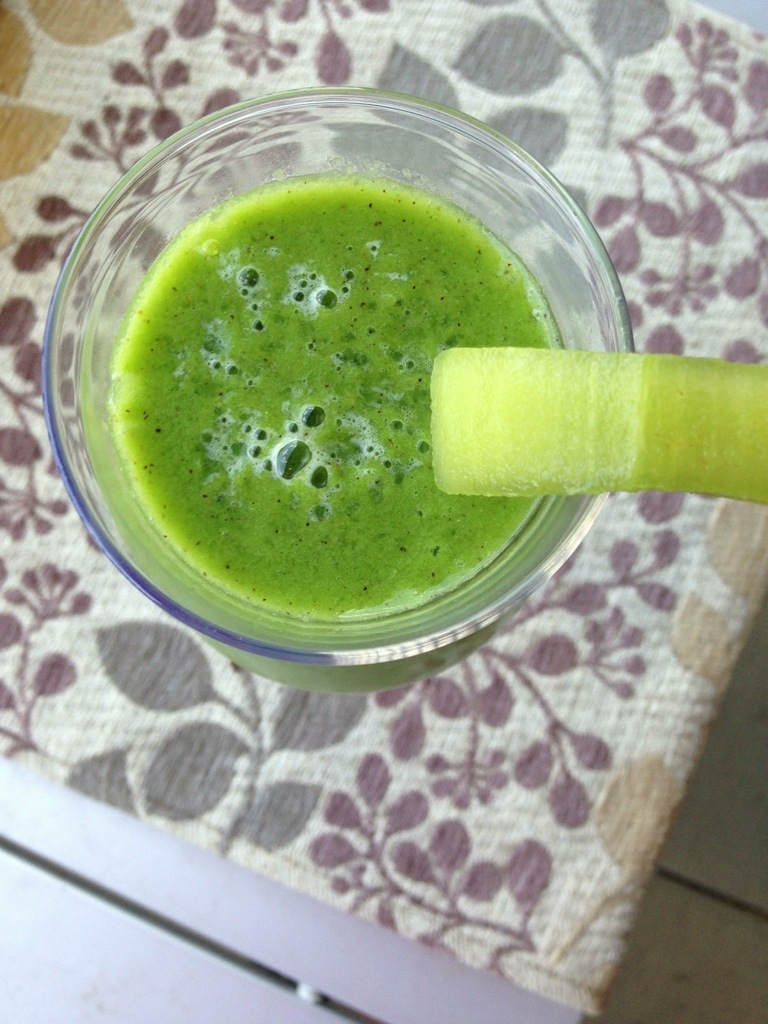
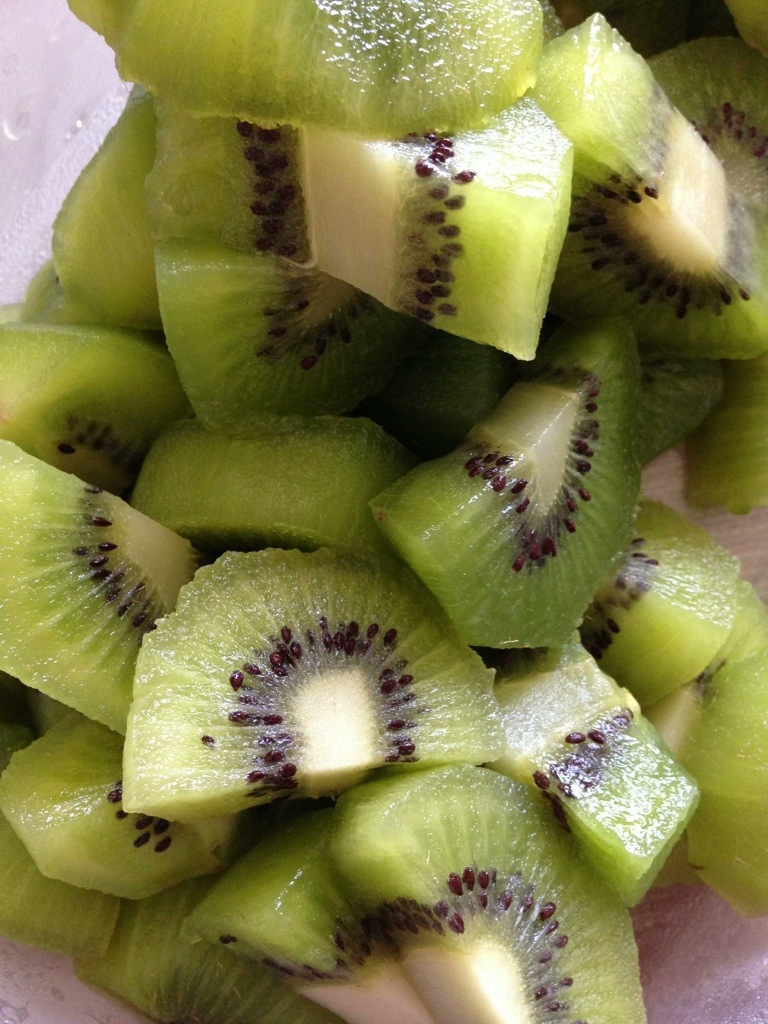
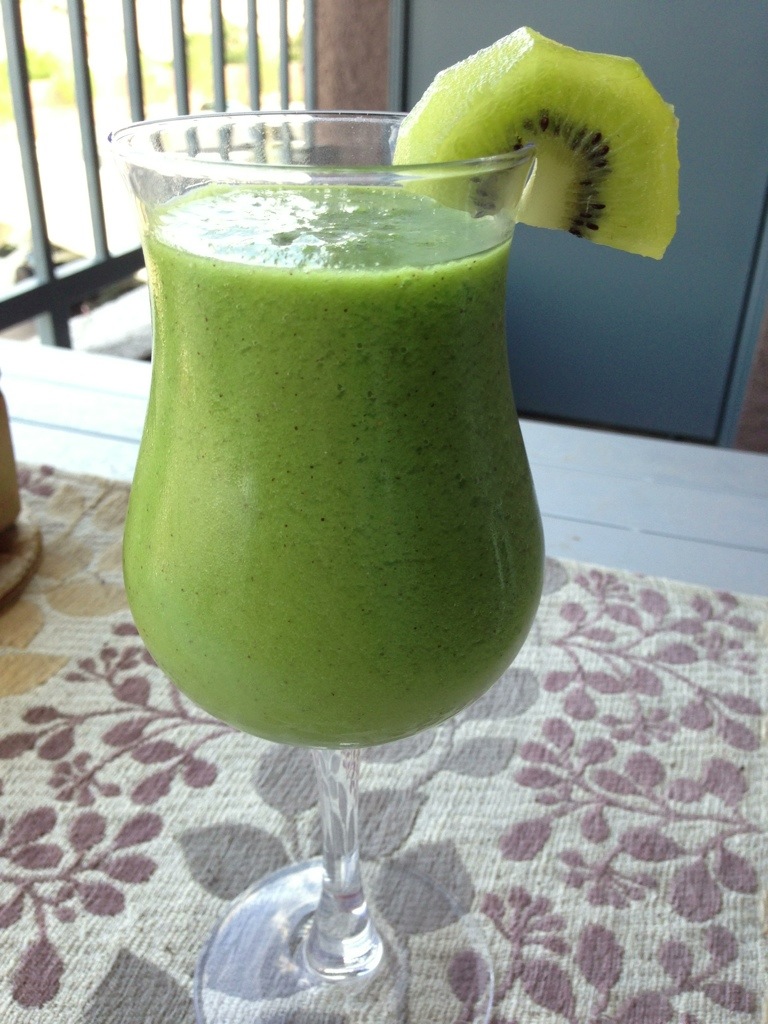
Ahhh!! I’m so excited about my new camera! I can’t wait to learn how to use it well! I got the Nikon D3200 because it seemed like a solid beginner DSLR at a great price. The photos in this post were shot indoors just before sunset with no diffuser or reflector, and no post-processing or filters. Not bad for my first food shoot with this camera!
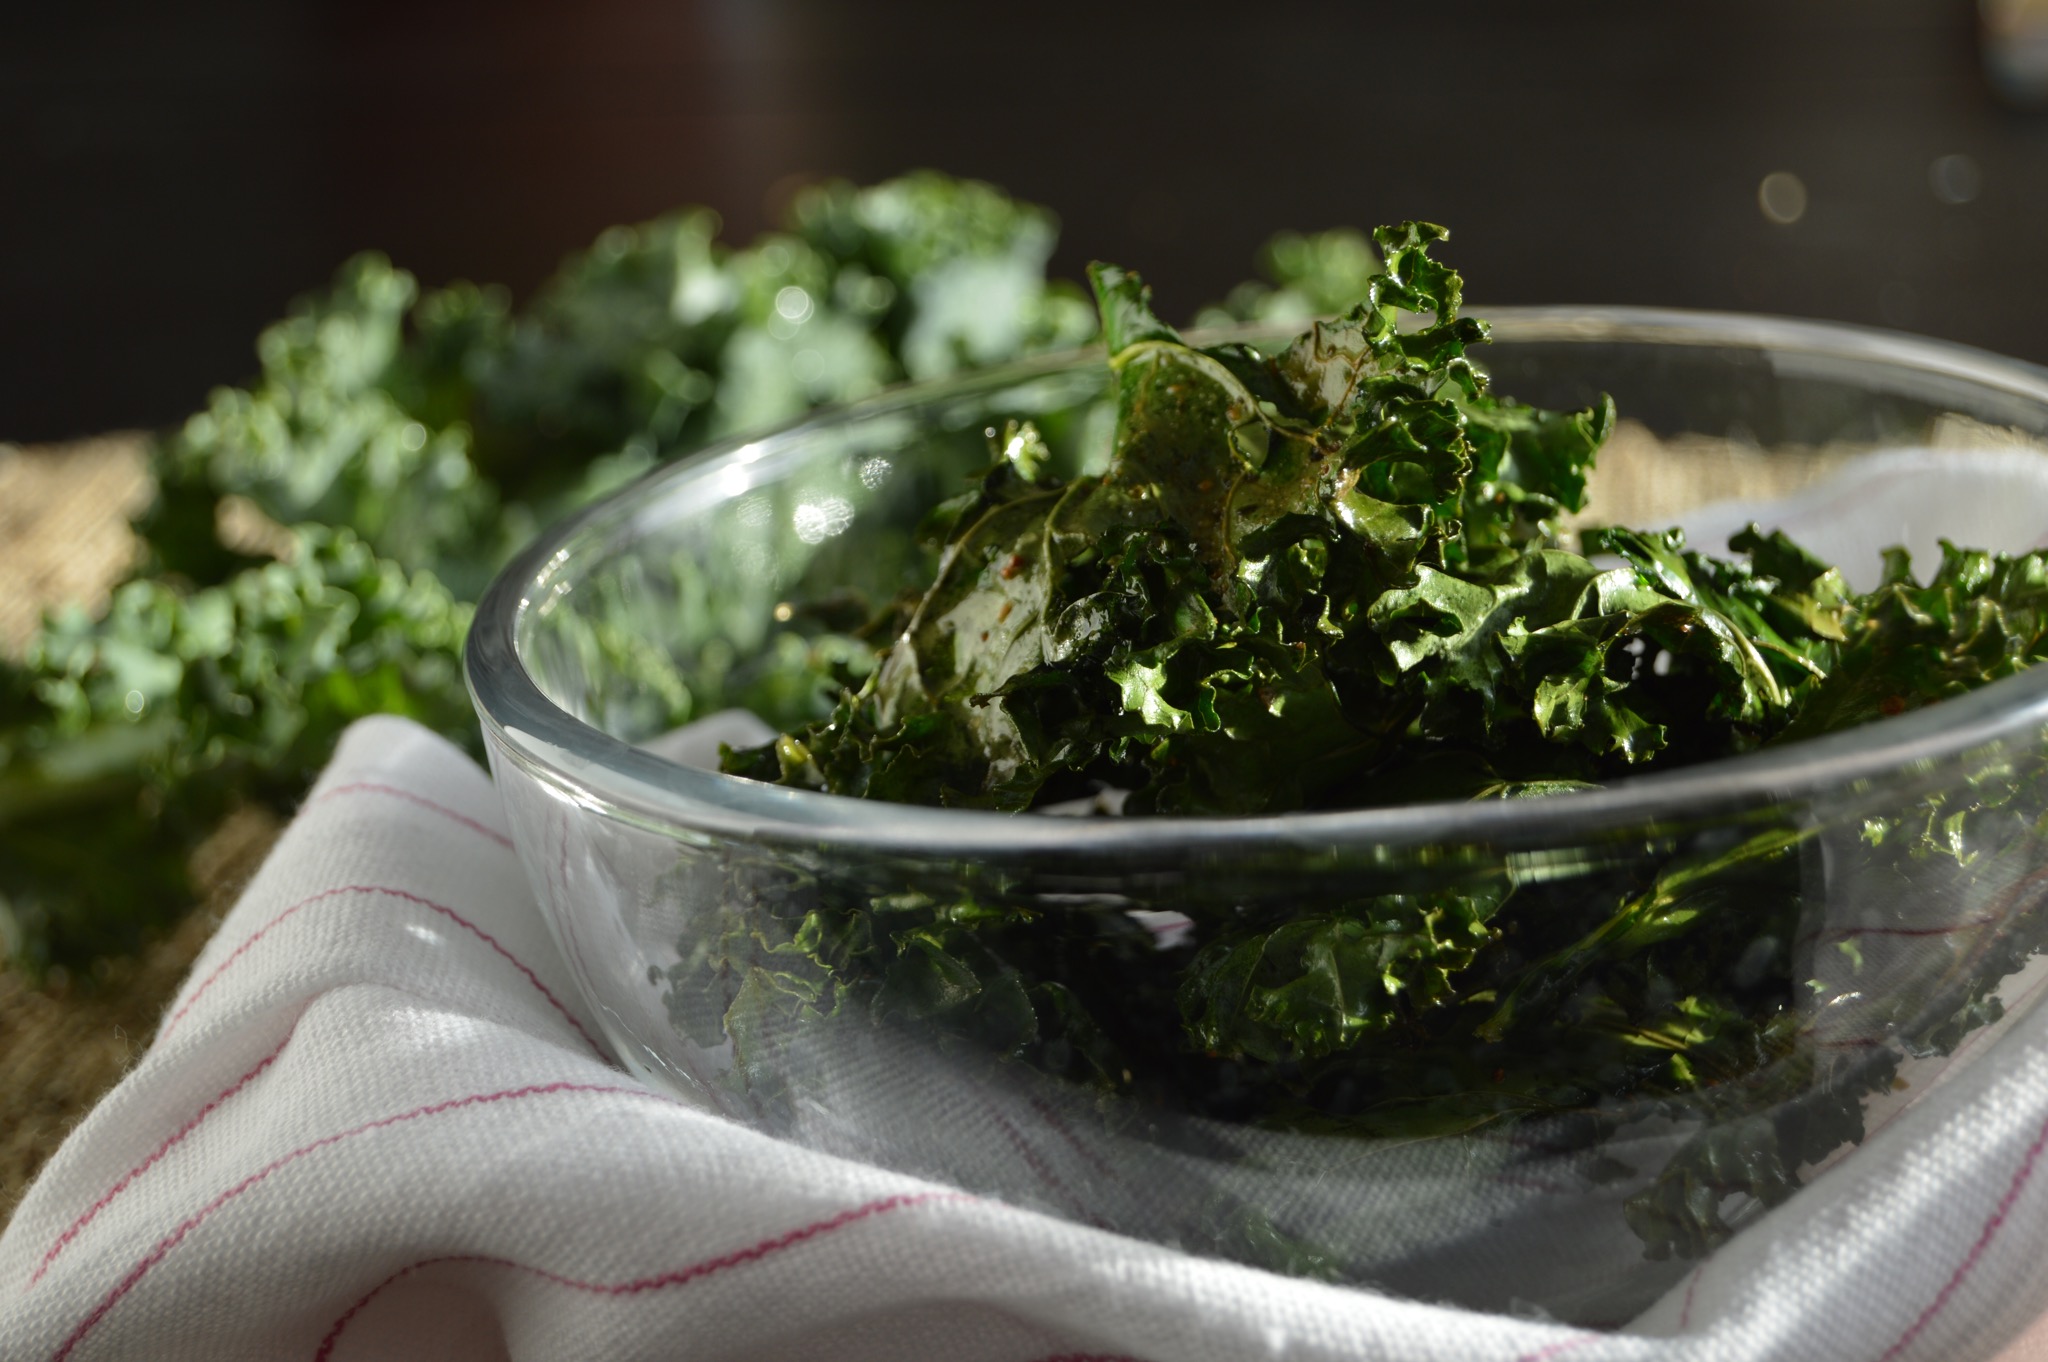
I’ve had several failed attempts at kale chips, but I think I’ve finally figured out the right way to make them! Here are some tips:
1. Use curly kale
2. Cut the leaves from the tough stalk of the kale.
3. Do not over-oil the kale (use an oil mister)
4. Do not over-crowd the baking sheet
5. Watch the kale closely as it bakes so it becomes crisp but not burned
Before:
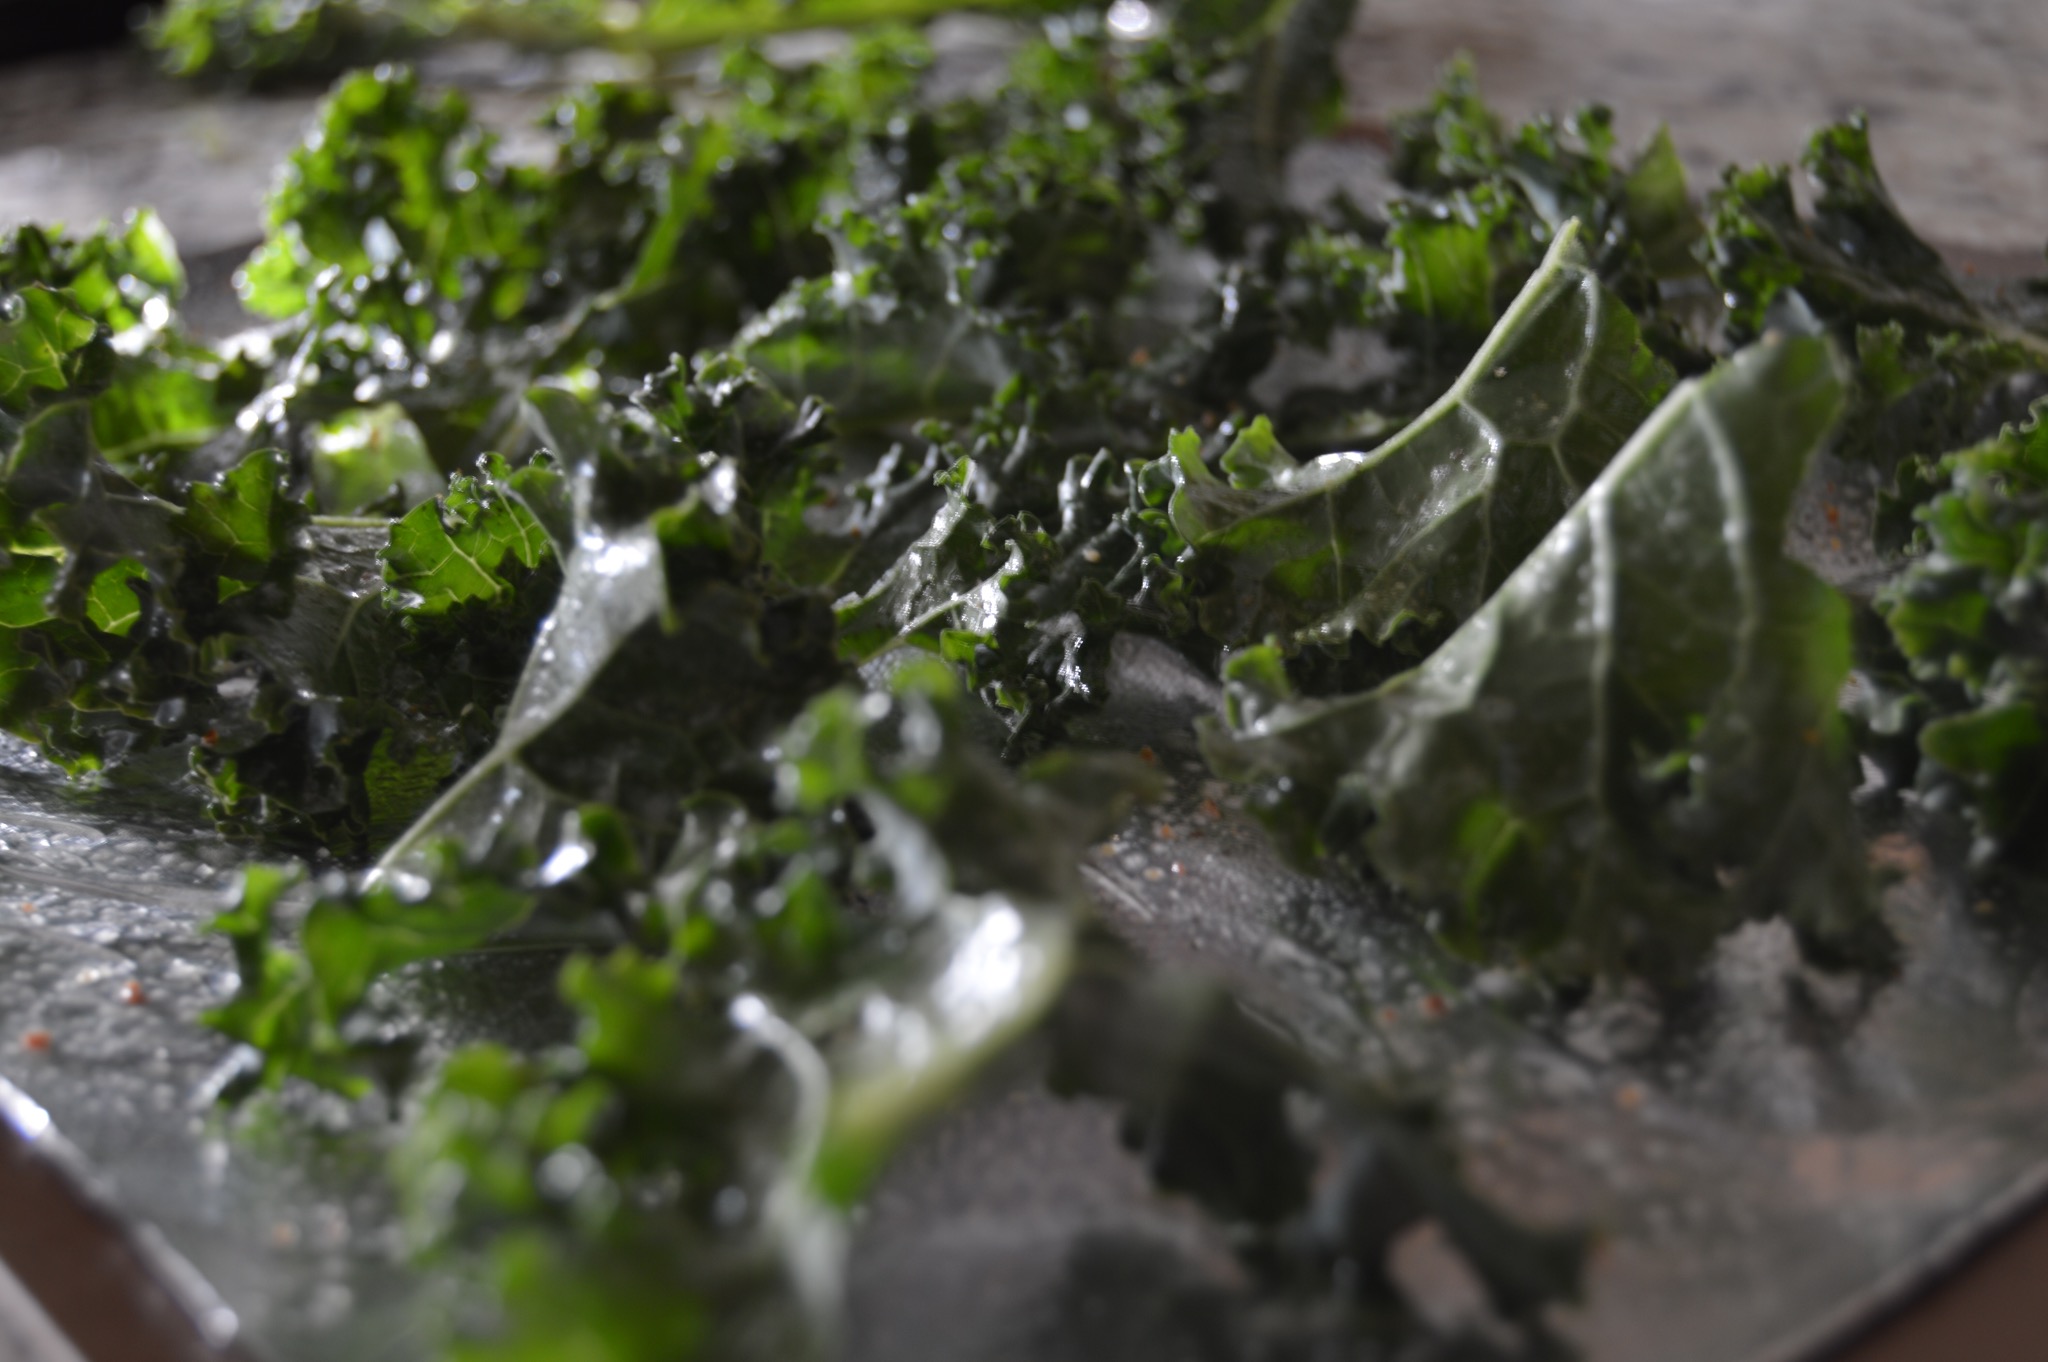
Ingredients:
1 bunch of kale
Olive oil in a mister
White vinegar in a mister (or vinegar powder, such as this one)
Finely ground sea salt
Directions:
1. Preheat oven to 350 degrees. Tear curly kale into 2″ sized pieces and scatter over a baking sheet lined with lightly greased aluminum foil. Work in batches instead of crowding the baking sheet.
2. Lightly mist the kale with olive oil and vinegar. Sprinkle with a dusting of salt.
3. Bake for 8 minutes, flip the kale leaves, and bake for several minutes more. Monitor closely- you want the kale to be crisp, but not burnt.
Enjoy the kale chips warm or allow to cool and store for a couple of days in a sealed container. Experiment with other kale chip flavors as well. Try salt + curry powder, garlic salt, grated parmesan, or simply salt + pepper as tasty alternatives! Oh, and definitely brush your teeth after eating these or you might scare people off with your green breath :)
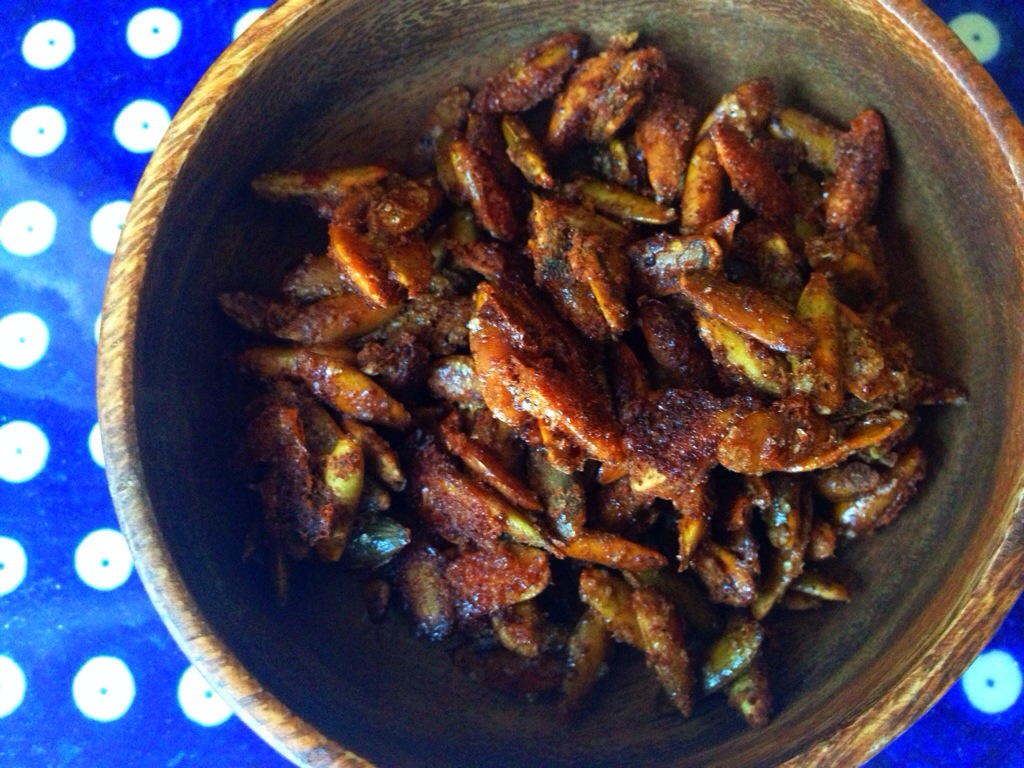
After: